The day got off to a rough start. A morning of wrapping Christmas presents while watching Celebrity Rehab on VH1. Why did I do this? I rarely watch junk TV. I try to be careful about what goes into this impressionable brain of mine. Whenever possible, I watch something educational. I really do! Well, in some state of weakness, I decided to watch some smut.
Once I watched the smut, I think my inner crafty queen just went back to bed. I couldn't summon her powers today. Oh I made something alright. But I felt frustration at every turn and am disappointed with the result.
Here's the painful recap.
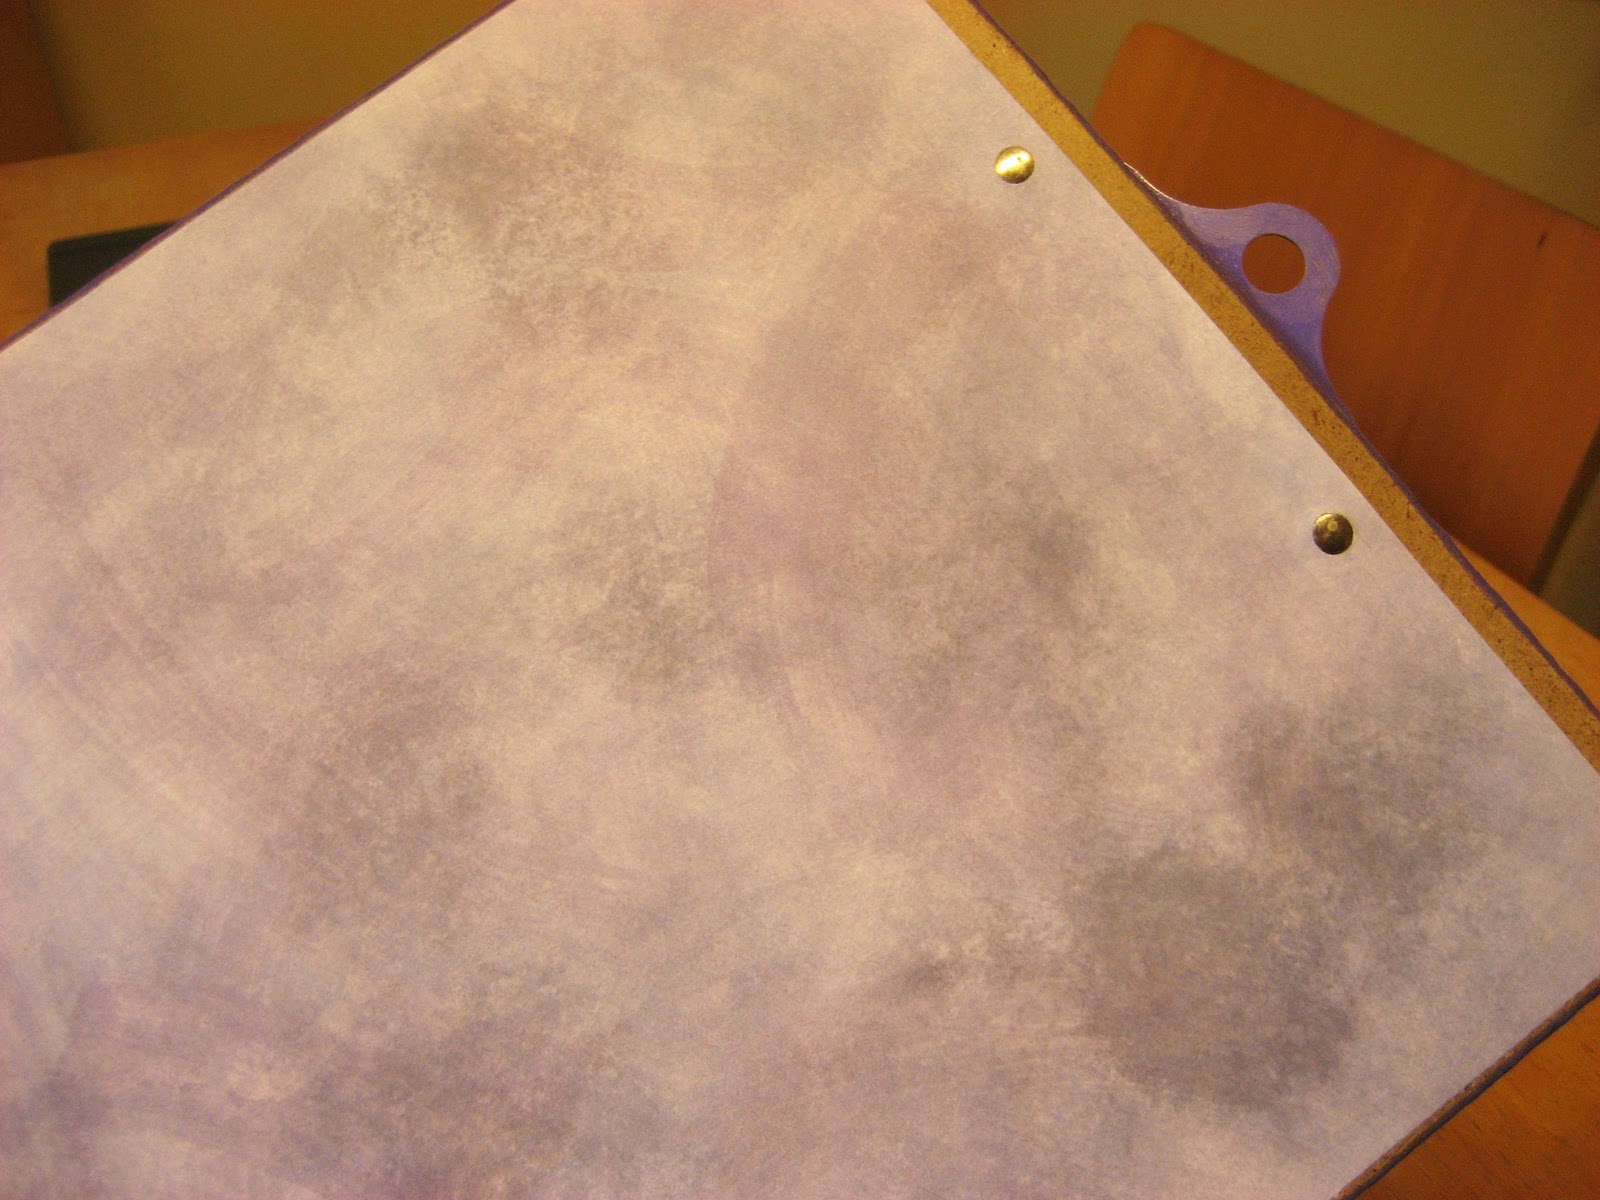
Today I decided to decorate an old ugly clipboard. I gathered some pretty papers, the paper cutter, my corner rounder, spray adhesive, acrylic paint, a purple paint pen, and gloss medium & varnish.
I trimmed the papers and rounded the corners.
I painted the front side of the clipboard to match the yellow in the paper and I used my old purple paint pen to color the edges and the metal parts of the clipboard. This was my first mistake. The paint pen pooped out on me midway through the metal. You can't tell from the pictures, but the metal part looks gloppy in person - a lot like my 8 year old colored it with her crayola markers. But with paint pen on metal, there is no going back.
Next I used spray adhesive to stick the papers to the front and back of the clipboard. Looking smooth so far. But no... I decided to add a layer of varnish to the front and back. Then the papers puckered.
At this point, I just propped it up to dry and decided to close up shop. Today was not my day.
Monday, December 20, 2010
Sunday, December 19, 2010
Day 7: Do Something Nice for the Earth
I am not a big fan of paper napkins. The flimsy ones stick to your fingers and the printed patterns are ugly. The thicker ones are too expensive. I am not the perfect environmentalist, but I feel huge guilt when my family burns through a pack of paper napkins. Probably because I have an easy and cheap alternative - cloth napkins! Cloth napkins don't have to be white linen. We use colored bandannas. They wash well, don't need ironing, and hide all the goobers that come with children 10 and under. Each family member has a unique napkin ring. When we are done eating, we put our napkins back in our napkin rings, put the napkins in a basket, and use them again the next time we eat. We can usually get several meals in before needing to wash our napkins.
In celebration of cloth napkins, I am making the family some new napkin rings. Our old ones were rather boring and formal. I think this idea has passed through my brain in the past because I had a set of unfinished wooden napkin rings waiting for my attention. I grabbed the gesso, acrylic paints, paint brushes, and my gloss medium & varnish.
After a coat of gesso, I painted each ring a different bright color and added designs that I knew each family member would like. Once dry, I coated each ring with gloss medium & varnish.
| Enchanted Mushrooms for Bea. |
| Happy Hearts for me. |
| Mr. Fishy for my main man. |
| The Serpent for Oscar |
Saturday, December 18, 2010
Day 6: Use Those Supplies to Wrap Gifts
Those snazzy gifties I made back on Day 3 need to be wrapped. I am envisioning something that looks like festive candies. This would match the glittery pastel look of the magnets. Time to gather up those supplies. Today I will use card stock, black embossing ink, black iridescent embossing powder, tissue papers, paper strings, black burlap strings, tulle, scissors, paper cutter, hole punch, and my heat tool.
Since I had the embossing supplies out, I made an entire page of tags. I figured "XOXO" was generic enough to use on all kinds of gifts. And black and cream go with anything.
Time to put it all together.
I love how these turned out. I wish I could deliver them in little glass candy jars.
Friday, December 17, 2010
Day 5: Add Another Layer
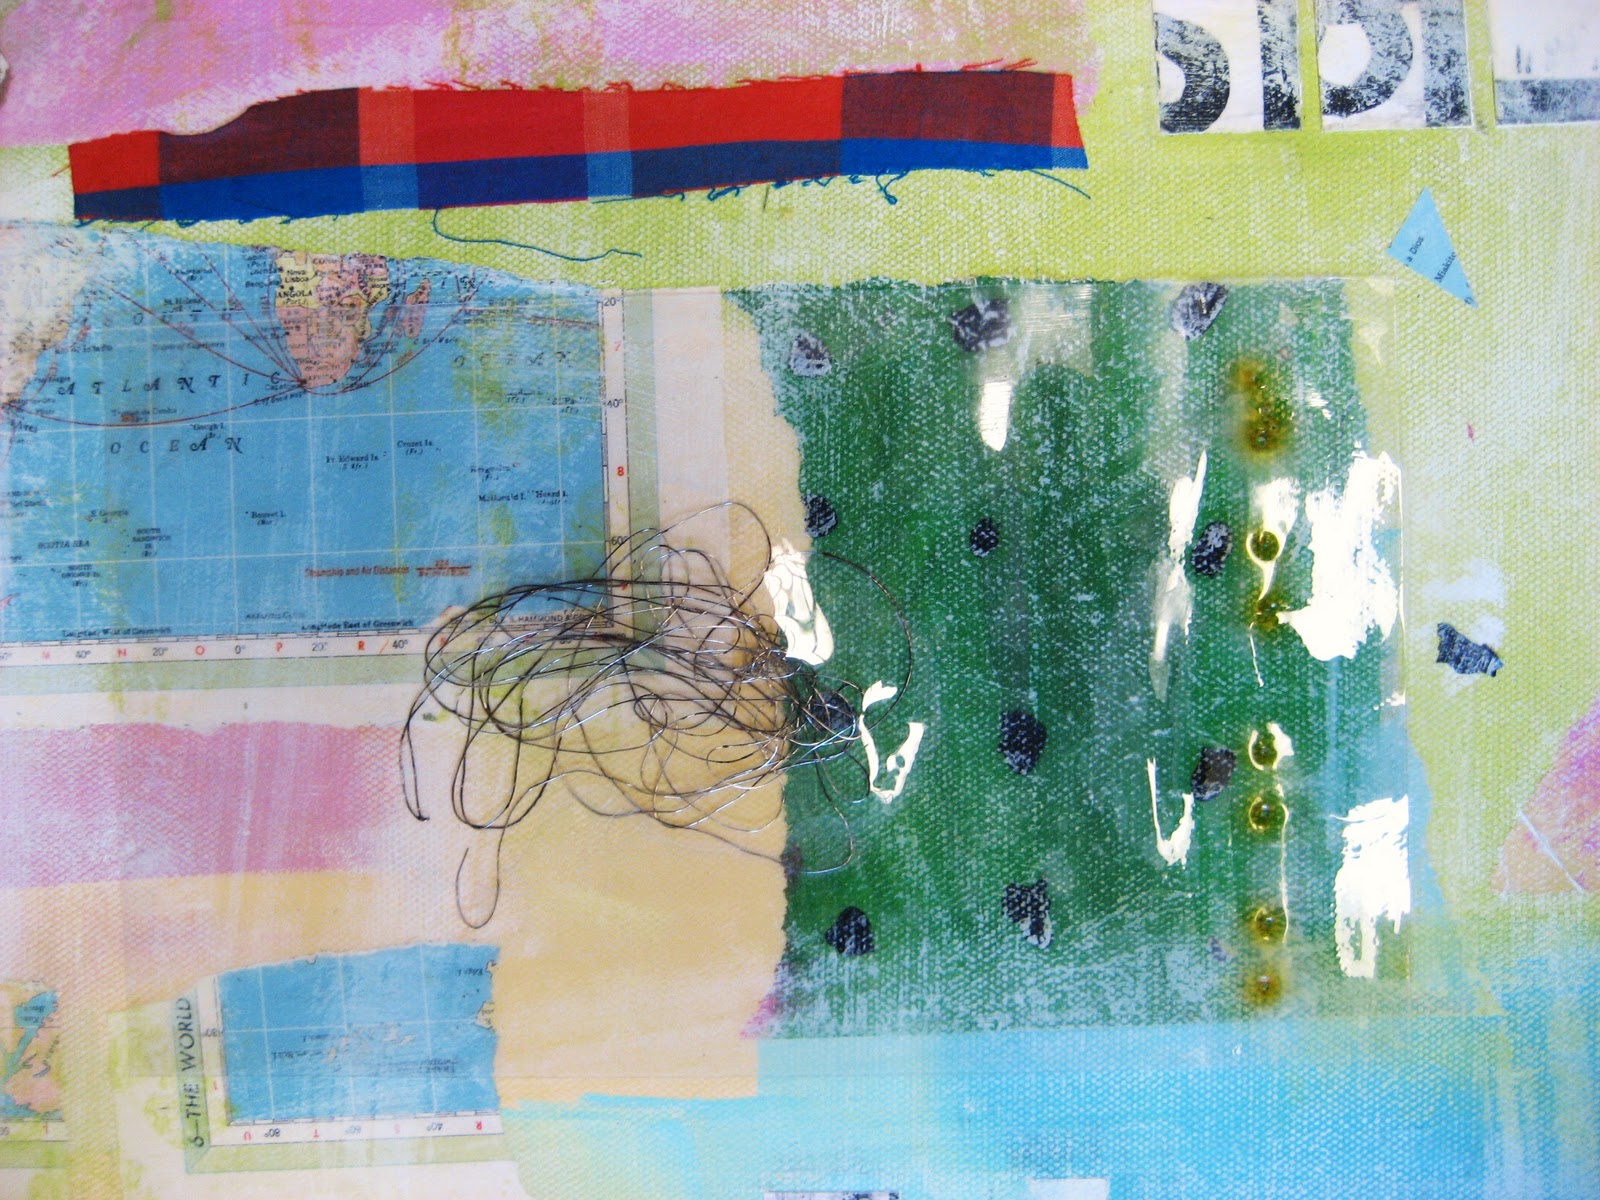
Right now, my paintings are all about layers and textures. I like to collage objects, papers, fabric scraps, and anything else that will stick to the surface of the canvas. Then I sand everything down and add more. It is an interesting process. I feel excitement as I add the pieces, then nervousness and sadness as I paint over them, then excitement again as I sand the whole piece. New colors, textures, and images pop through. I add another layer. At some point, I feel like the piece is finished and I stop. This is a new process for me and very experimental, but it feels right for now so I am going to keep working in this direction for a little while.
Today I am going to add another layer to this piece. I am sad about it because I love the pastel and neon colors. But this is only layer one!
When I created this layer, I added painted tissue papers and bits of trash. I didn't think too much as I went, just focused on creating texture and little diversions along the canvas.
Time to add another layer of paint. I use acrylics. I would like to use oil because the end result is so beautiful. But oils are more expensive, are super messy, and take forever to dry.
I've decided to work in shades of red to cover the piece. I am thinking about rust and old metal signs.
I have covered the whole piece now and I feel uneasy about it, but tomorrow I will sand it and see if anything magical pops through.
Today I am going to add another layer to this piece. I am sad about it because I love the pastel and neon colors. But this is only layer one!
When I created this layer, I added painted tissue papers and bits of trash. I didn't think too much as I went, just focused on creating texture and little diversions along the canvas.
| This is actually a blob of wire covered with a piece of clear vinyl. I have no idea how this will pan out. |
| I like the sparklers box colors and graphics. Sparklers infuse fun, excitement, cheesiness, and a little bit of danger. |
Time to add another layer of paint. I use acrylics. I would like to use oil because the end result is so beautiful. But oils are more expensive, are super messy, and take forever to dry.
I've decided to work in shades of red to cover the piece. I am thinking about rust and old metal signs.
I have covered the whole piece now and I feel uneasy about it, but tomorrow I will sand it and see if anything magical pops through.
Thursday, December 16, 2010
Day 4: Just Sew
The fabric scrap bin is staring at me.
The best way to attack a bulging fabric scrap bin is with an open mind and my Janome Sewist 509.
When I start a new quilted piece, I don't think too much about what I am making or how it will look in the end. I just starting sewing pieces together. After 5 or 6 fabric pieces, I have a bit of a pattern and color combination going. Today the purples and reds are speaking to me.
I like to throw in a black and white graphic print. I like the way it pulls the piece together and adds a bit of edginess. This black and white print reminds me of a bar code. This makes me thinking of shopping and materialism. This makes me think about phrases I might embroider on the top of the piece. Perhaps prices or discounts or sale lingo like, "Lowest Prices of the Season!"
I've decided to make this piece a table runner. It will look fabulous on my long black dinning room table. I'm imagining it with white china plates, flowers in low vases, lots of candles, red wine, and friends. Stay tuned on this ... I will post the finished project.
Speaking of finished projects, I finished my daughter's quilt late last night. I sneaked into her room and covered her with it while she was sleeping. She woke with two surprises this morning, her quilt and no school due to icy roads. A perfect combination for snuggling.
The best way to attack a bulging fabric scrap bin is with an open mind and my Janome Sewist 509.
When I start a new quilted piece, I don't think too much about what I am making or how it will look in the end. I just starting sewing pieces together. After 5 or 6 fabric pieces, I have a bit of a pattern and color combination going. Today the purples and reds are speaking to me.
I like to throw in a black and white graphic print. I like the way it pulls the piece together and adds a bit of edginess. This black and white print reminds me of a bar code. This makes me thinking of shopping and materialism. This makes me think about phrases I might embroider on the top of the piece. Perhaps prices or discounts or sale lingo like, "Lowest Prices of the Season!"
I've decided to make this piece a table runner. It will look fabulous on my long black dinning room table. I'm imagining it with white china plates, flowers in low vases, lots of candles, red wine, and friends. Stay tuned on this ... I will post the finished project.
Speaking of finished projects, I finished my daughter's quilt late last night. I sneaked into her room and covered her with it while she was sleeping. She woke with two surprises this morning, her quilt and no school due to icy roads. A perfect combination for snuggling.
Wednesday, December 15, 2010
Day 3: Make Some Gifties
With only a week left until Christmas, I decided to make some gifties for my friends at work. I work at an elementary school. Although there are a few men sprinkled here and there, the majority of my co-workers are women. I love it. I've worked in all kinds of environments and I have enjoyed aspects of every one, but none have fit me better than an elementary school. It is filled with creative people who love children. Most also love puppies and kittens and the smell of freshly sharpened pencils. I digress...
The goal for today is to create some gifties for my group of coworkers. Let's see what supplies are at hand. Small flat wooden shapes, magnets, paint, background papers, matte gel medium, gloss medium & varnish, fabulous paper images (see day 2), and the always entertaining GLITTER! I will be making decoupage magnets. Who doesn't need a magnet?
Step 1: Play with the designs and select background papers and images.
Step 2: Sand and paint the wooden shapes.
Step 3: Adhere all the papers and images with matte gel medium.
Step 4: GLITTER TIME!
Step 5: Coat each piece with gloss medium & varnish.
Step 6: Glue a magnet button on the back. I use E-6000 glue for super strong adhesion.
Step 7: Enjoy your pretties while they dry!
Next creative endeavor: How to wrap these delicious treats. I'm thinking tulle, tissue, and sparkly trim!
The goal for today is to create some gifties for my group of coworkers. Let's see what supplies are at hand. Small flat wooden shapes, magnets, paint, background papers, matte gel medium, gloss medium & varnish, fabulous paper images (see day 2), and the always entertaining GLITTER! I will be making decoupage magnets. Who doesn't need a magnet?
Step 1: Play with the designs and select background papers and images.
| Old book pages, maps, music, and dictionaries make interesting backgrounds. |
| It feels a bit magical to find existing print that works perfectly with an image. |
Step 2: Sand and paint the wooden shapes.
Step 3: Adhere all the papers and images with matte gel medium.
| I love this sleeping cowboy! I like to imagine him dreaming about trigonometry. |
Step 4: GLITTER TIME!
Step 5: Coat each piece with gloss medium & varnish.
Step 6: Glue a magnet button on the back. I use E-6000 glue for super strong adhesion.
Step 7: Enjoy your pretties while they dry!
| Mr. Czardine |
| I want to keep them! |
| Hmmm...Now to decide who will get which magnet. |
Next creative endeavor: How to wrap these delicious treats. I'm thinking tulle, tissue, and sparkly trim!
Tuesday, December 14, 2010
Day 2: What Are You Saving That For?
I love old children's books. Especially discarded library books. The smell of the discolored paper. The beat up binding. The little "due date" pocket on the back page. The charming illustrations and type are perfect for collage and decoupage. However, there is a librarian that lives in my head and her eyebrows are raised over her spectacles when she realizes my plan to desecrate a book.
So the books gather.
A few thoughts come to mind.
1) Piled-up books take up space.
2) Sitting on the couch all day would easily accommodate paper-cutting.
3) It would be handy to have a stockpile of images readily available for craft projects.
With my pointiest scissors, I will cull the coolest and cutest images. Let the librarian put her hands on her hips and huff at me.
So the books gather.
A few thoughts come to mind.
1) Piled-up books take up space.
2) Sitting on the couch all day would easily accommodate paper-cutting.
3) It would be handy to have a stockpile of images readily available for craft projects.
With my pointiest scissors, I will cull the coolest and cutest images. Let the librarian put her hands on her hips and huff at me.
Subscribe to:
Posts (Atom)